Windows 系统添加代理服务器
1、点击开始菜单,选择”控制面板“

2、进入控制面板后 选择类别,将图标修改为小图标,方便我们查找某些隐藏的功能
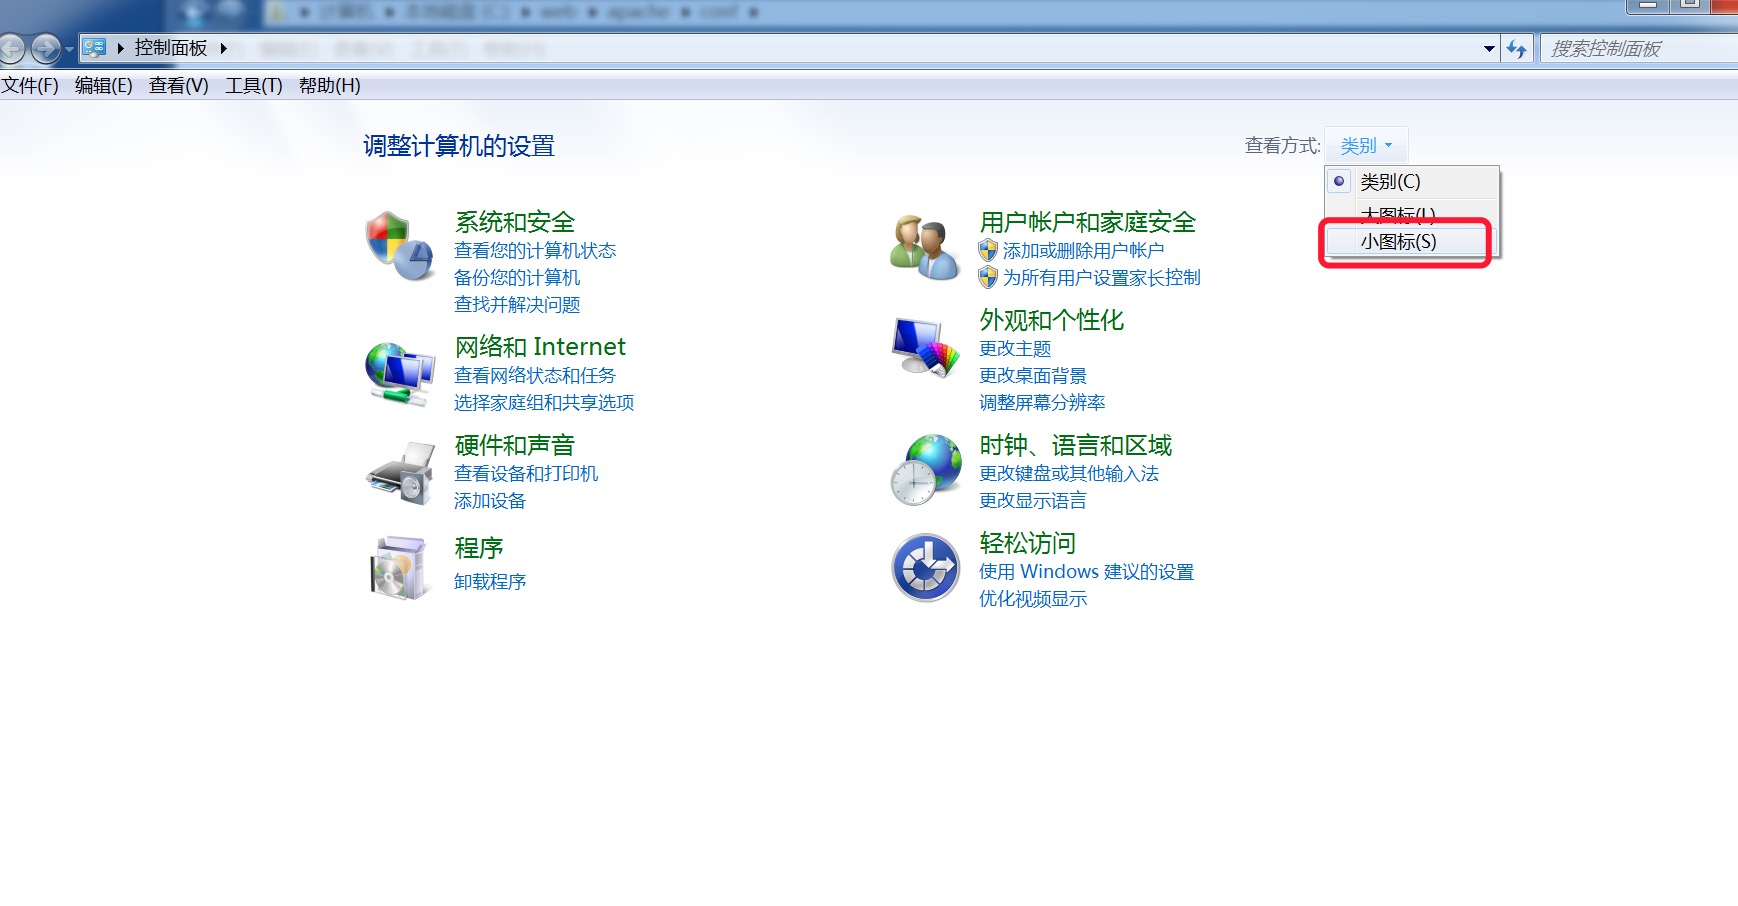
3、将图标修改为小图标后,我们选择 ”Inetrnet选项“ 配置
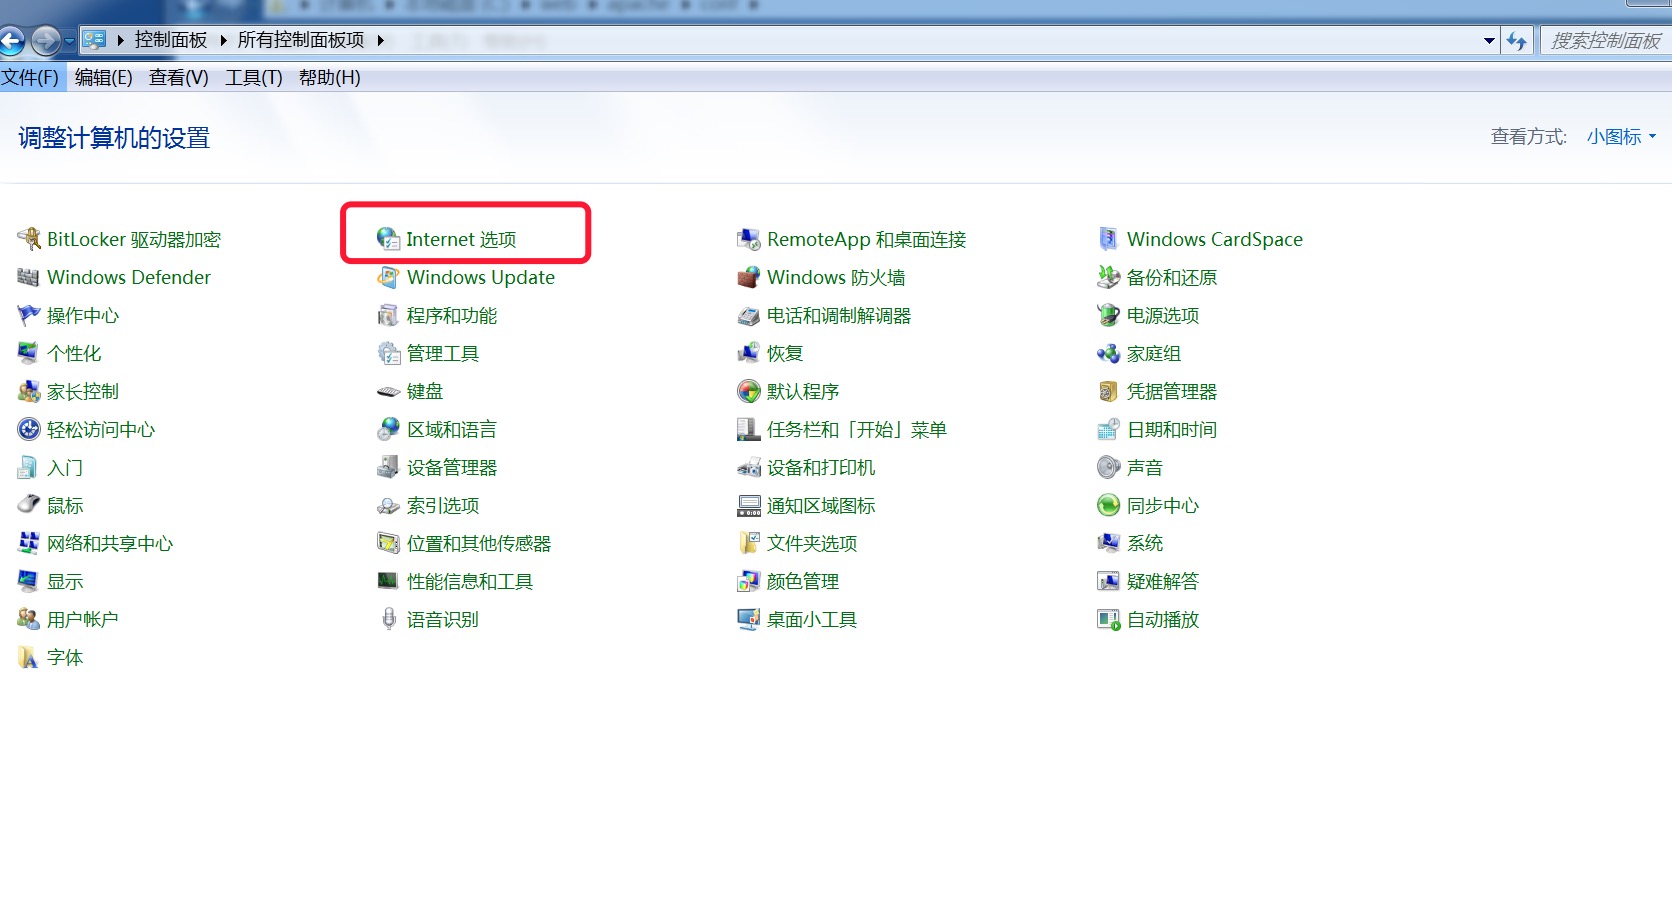
4、进入 ”Inetrnet选项“ 后选择 ”连接“ 选项,点击此模块下的 ”局域网设置“
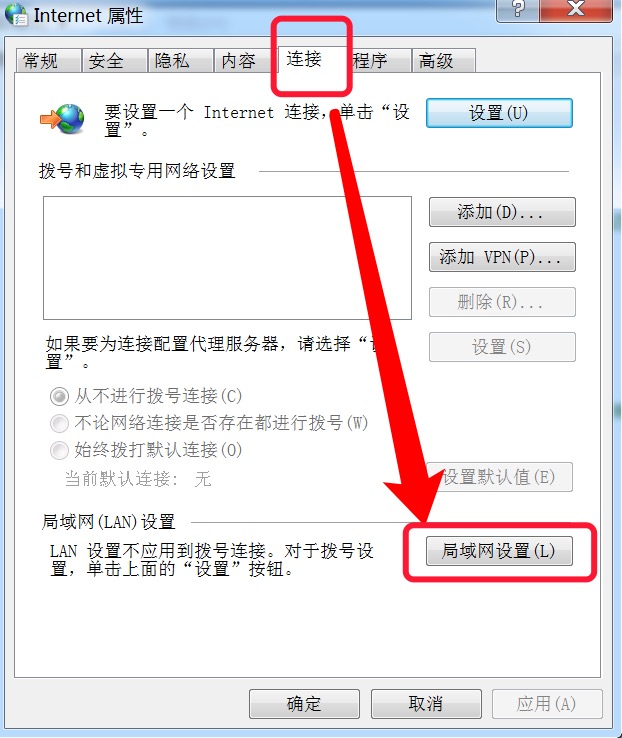
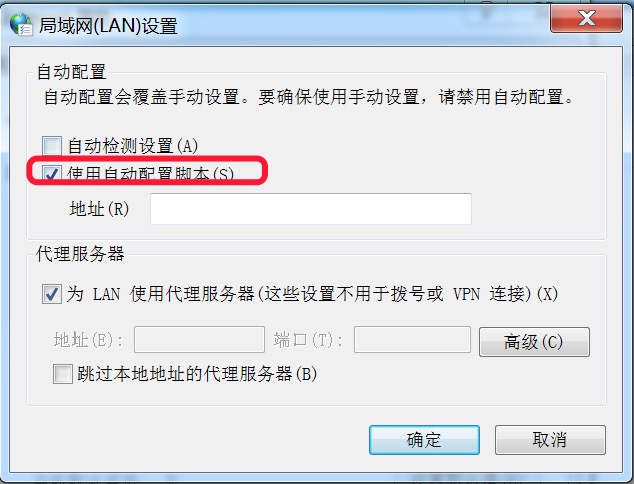
5、进入 ”局域网设置“ 设置后将 ”使用自动配置脚本“ 打钩,并且在 ”地址“ 栏里添写 代理服务器URL地址
1、点击开始菜单,选择”控制面板“
2、进入控制面板后 选择类别,将图标修改为小图标,方便我们查找某些隐藏的功能
3、将图标修改为小图标后,我们选择 ”Inetrnet选项“ 配置
4、进入 ”Inetrnet选项“ 后选择 ”连接“ 选项,点击此模块下的 ”局域网设置“
5、进入 ”局域网设置“ 设置后将 ”使用自动配置脚本“ 打钩,并且在 ”地址“ 栏里添写 代理服务器URL地址
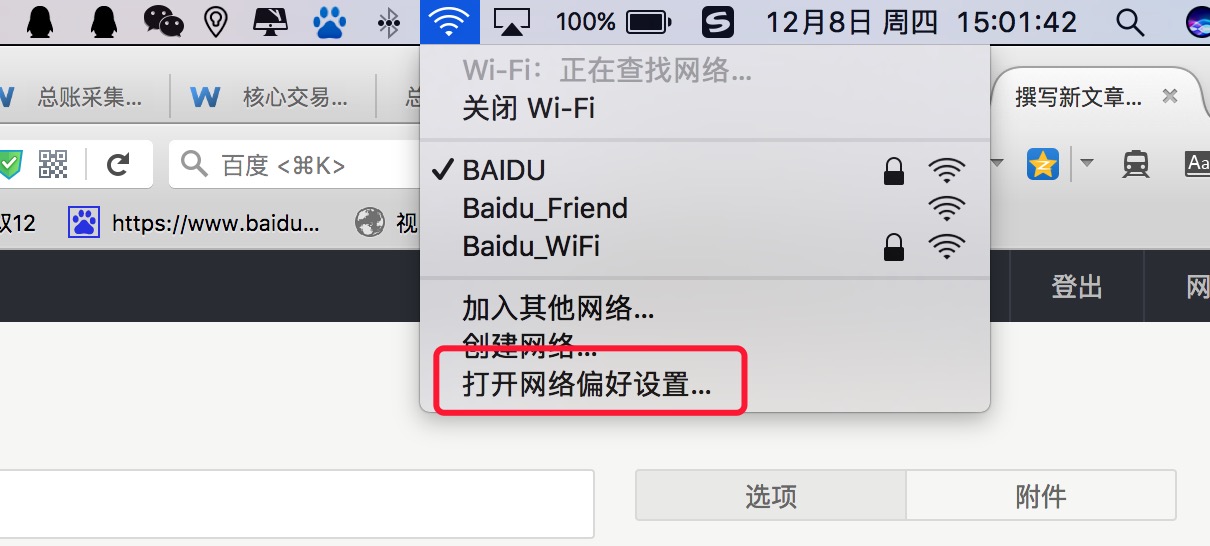
1、打开网络偏好设置
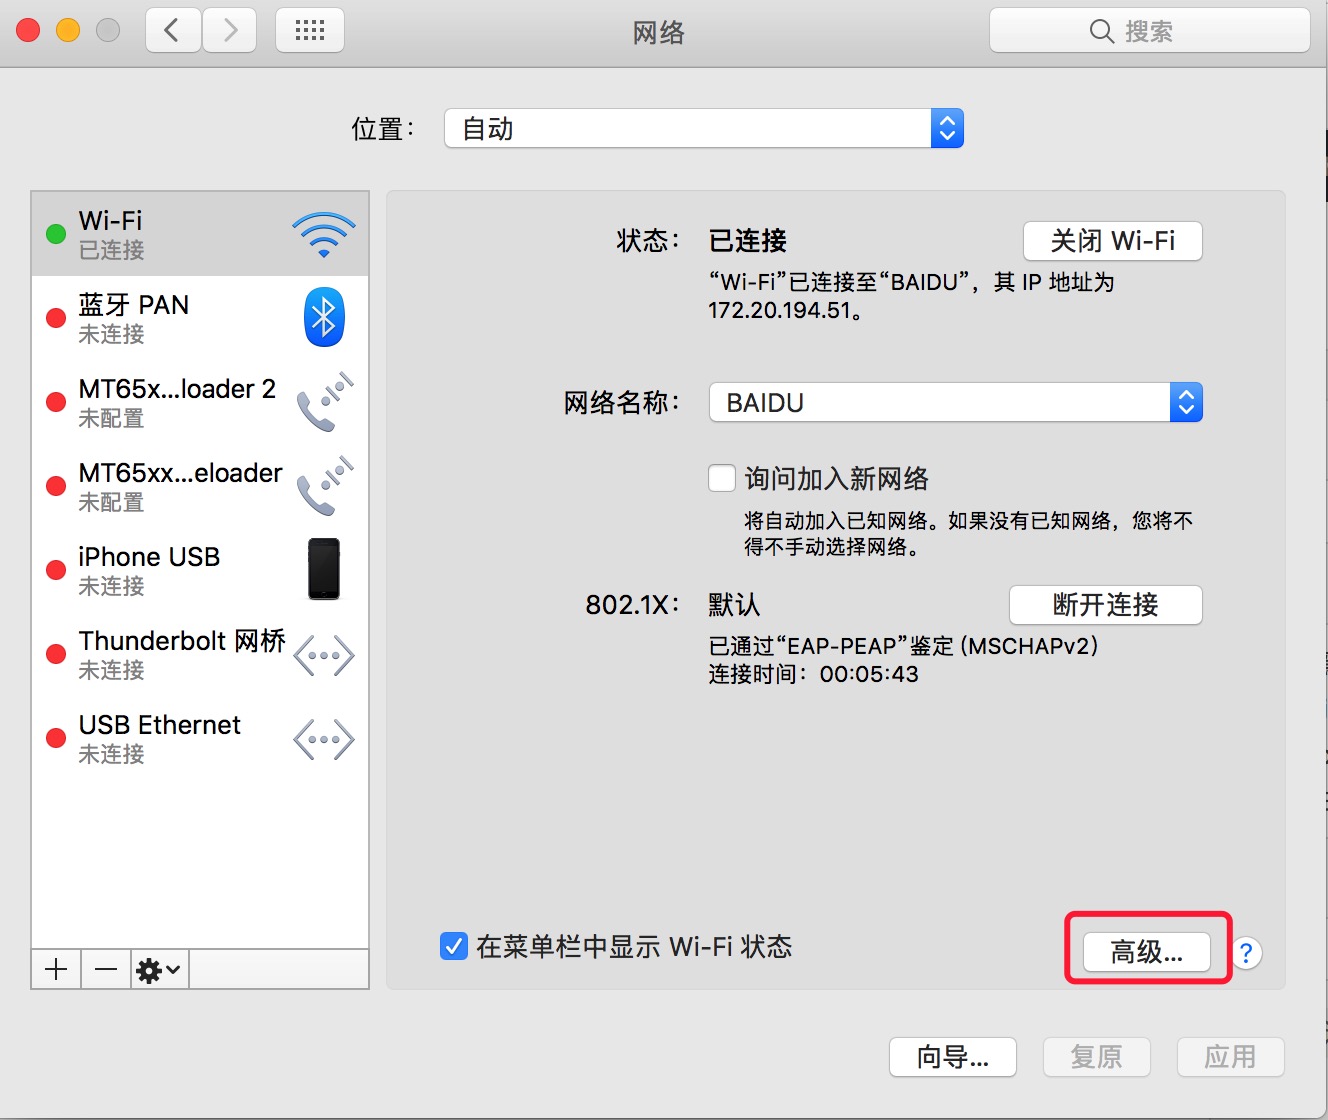
2、选择Wifi 后点击 “高级”
3、进入高级页面后选择“代理”
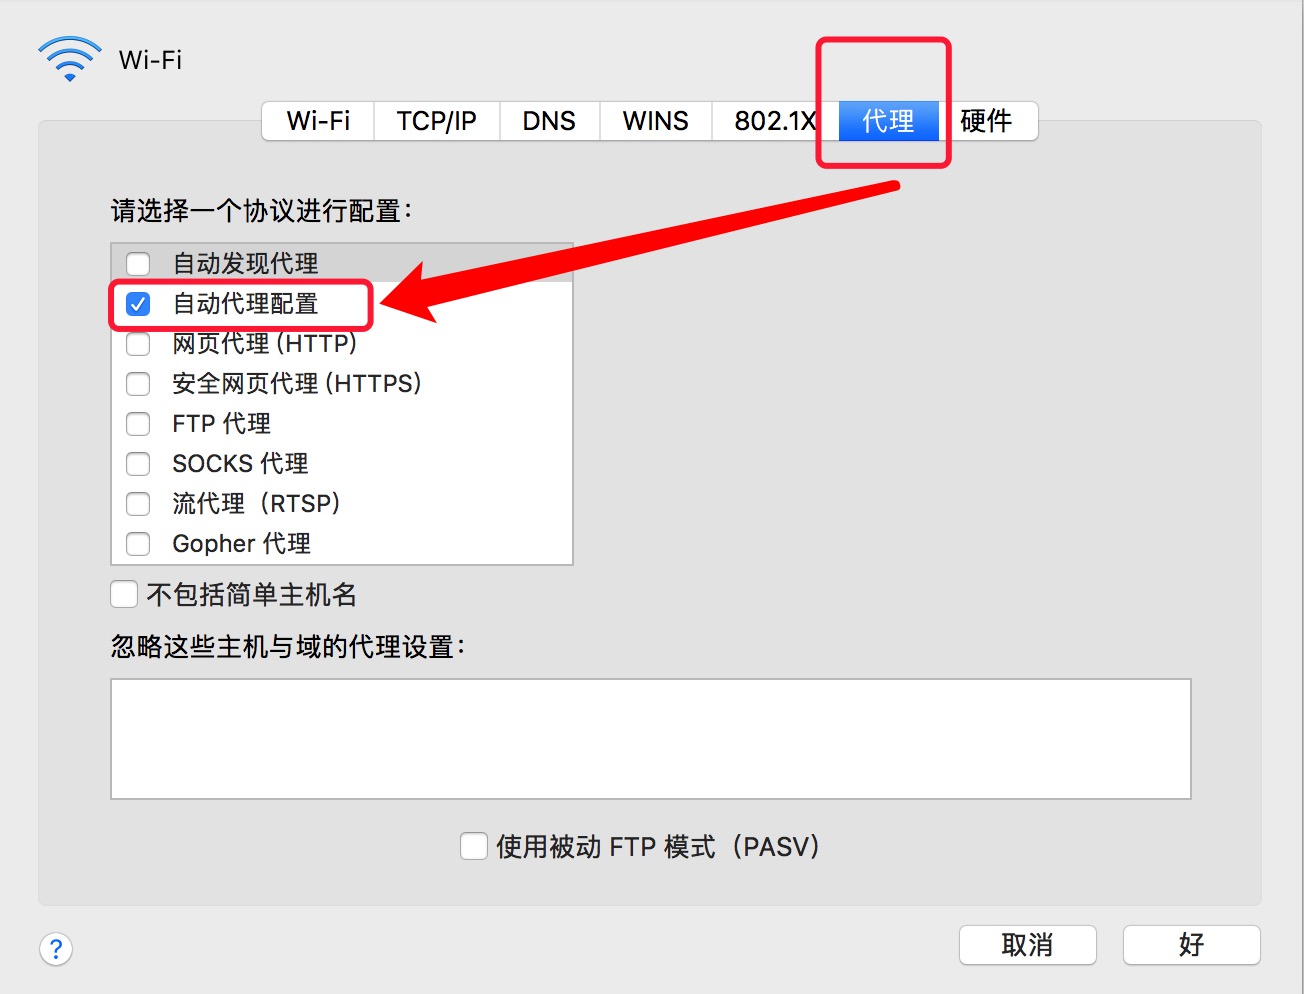
4、在 代理 页面选择 ”自动代理配置“ 将代理服务器 URL 粘贴到 此处

1、发生该问题的原因是服务器的内存不够,从而导致编译失败。
2、解决办法:https://bugs.php.net/bug.php?id=48809

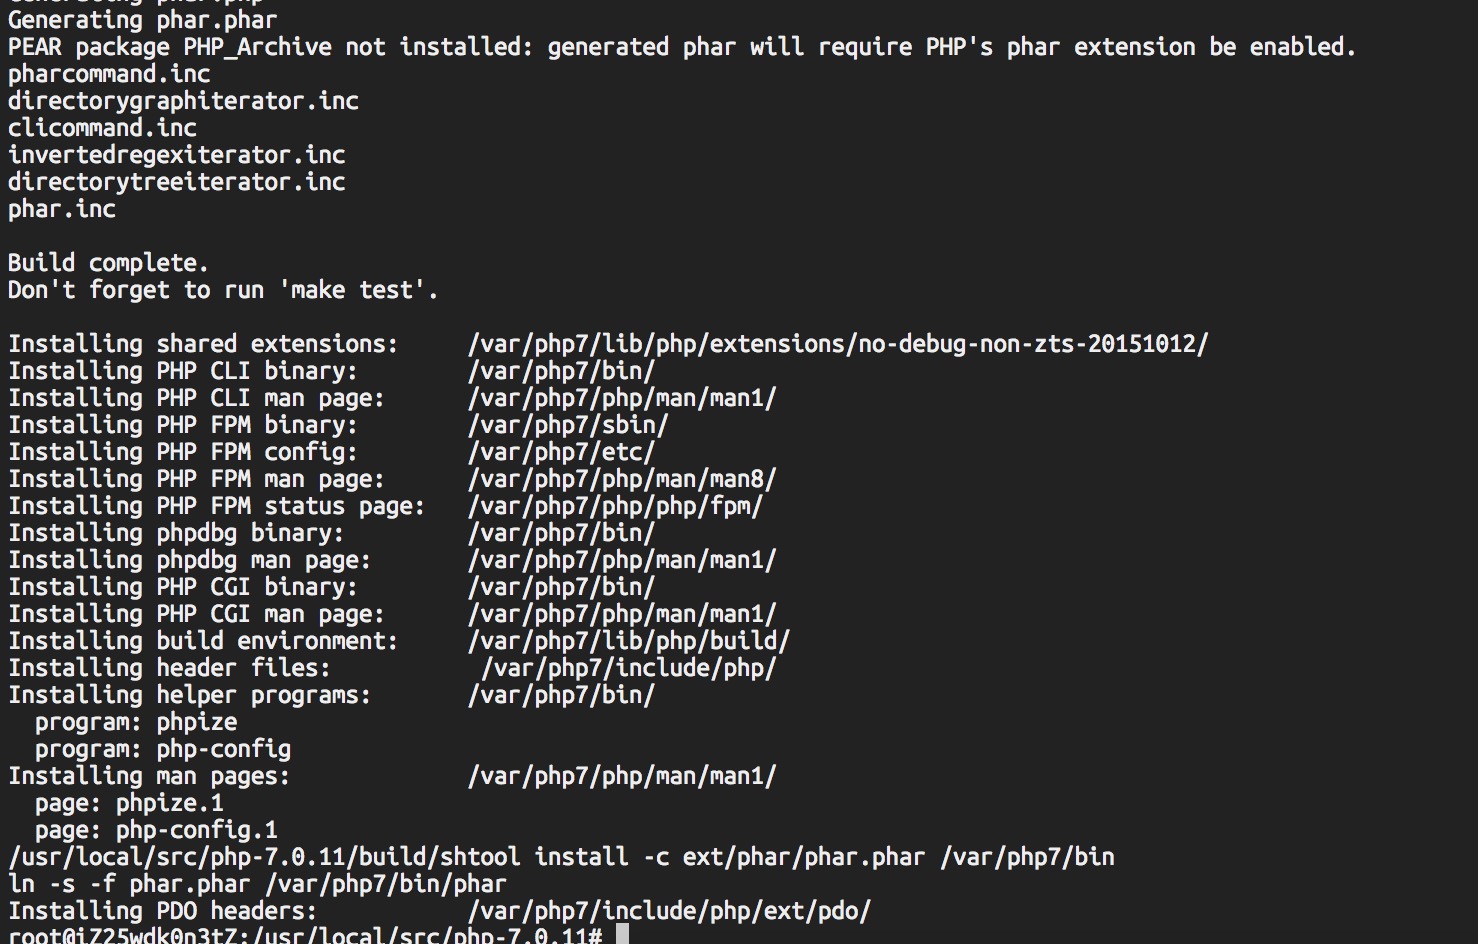
3、编译成功
4、编译命令
./configure --prefix=/var/php7 \--with-config-file-path=/var/php7/etc \--with-config-file-scan-dir=/var/php7/etc/php.d \--enable-mysqlnd \--with-mysqli \--with-pdo-mysql \--enable-fpm \--with-gd \--with-iconv \--with-zlib \--enable-xml \--enable-shmop \--enable-sysvsem \--enable-inline-optimization \--enable-mbregex \--enable-mbstring \--enable-ftp \--enable-gd-native-ttf \--enable-pcntl \--enable-sockets \--with-xmlrpc \--enable-zip \--enable-bcmath \--enable-soap \--without-pear \--with-gettext \--enable-session \--with-curl \--with-jpeg-dir \--with-freetype-dir \--enable-sqlite-utf8 \--enable-sysvmsg \--enable-sysvshm \--enable-wddx \--with-xsl \--enable-opcache \--disable-fileinfo
5、安装
sudo make && make install